NestTrail provides an intuitive and user-friendly drag-and-drop Information Box builder that allows you to create fully responsive information boxes without the need to write any code. Whether you prefer a visual editor or want to work with raw HTML, NestTrail gives you the flexibility to design information boxes that suit your tour's needs. This guide will walk you through the process of creating an Information Box using both the visual and HTML editors, along with customization options for display.
Accessing the Information Box Builder
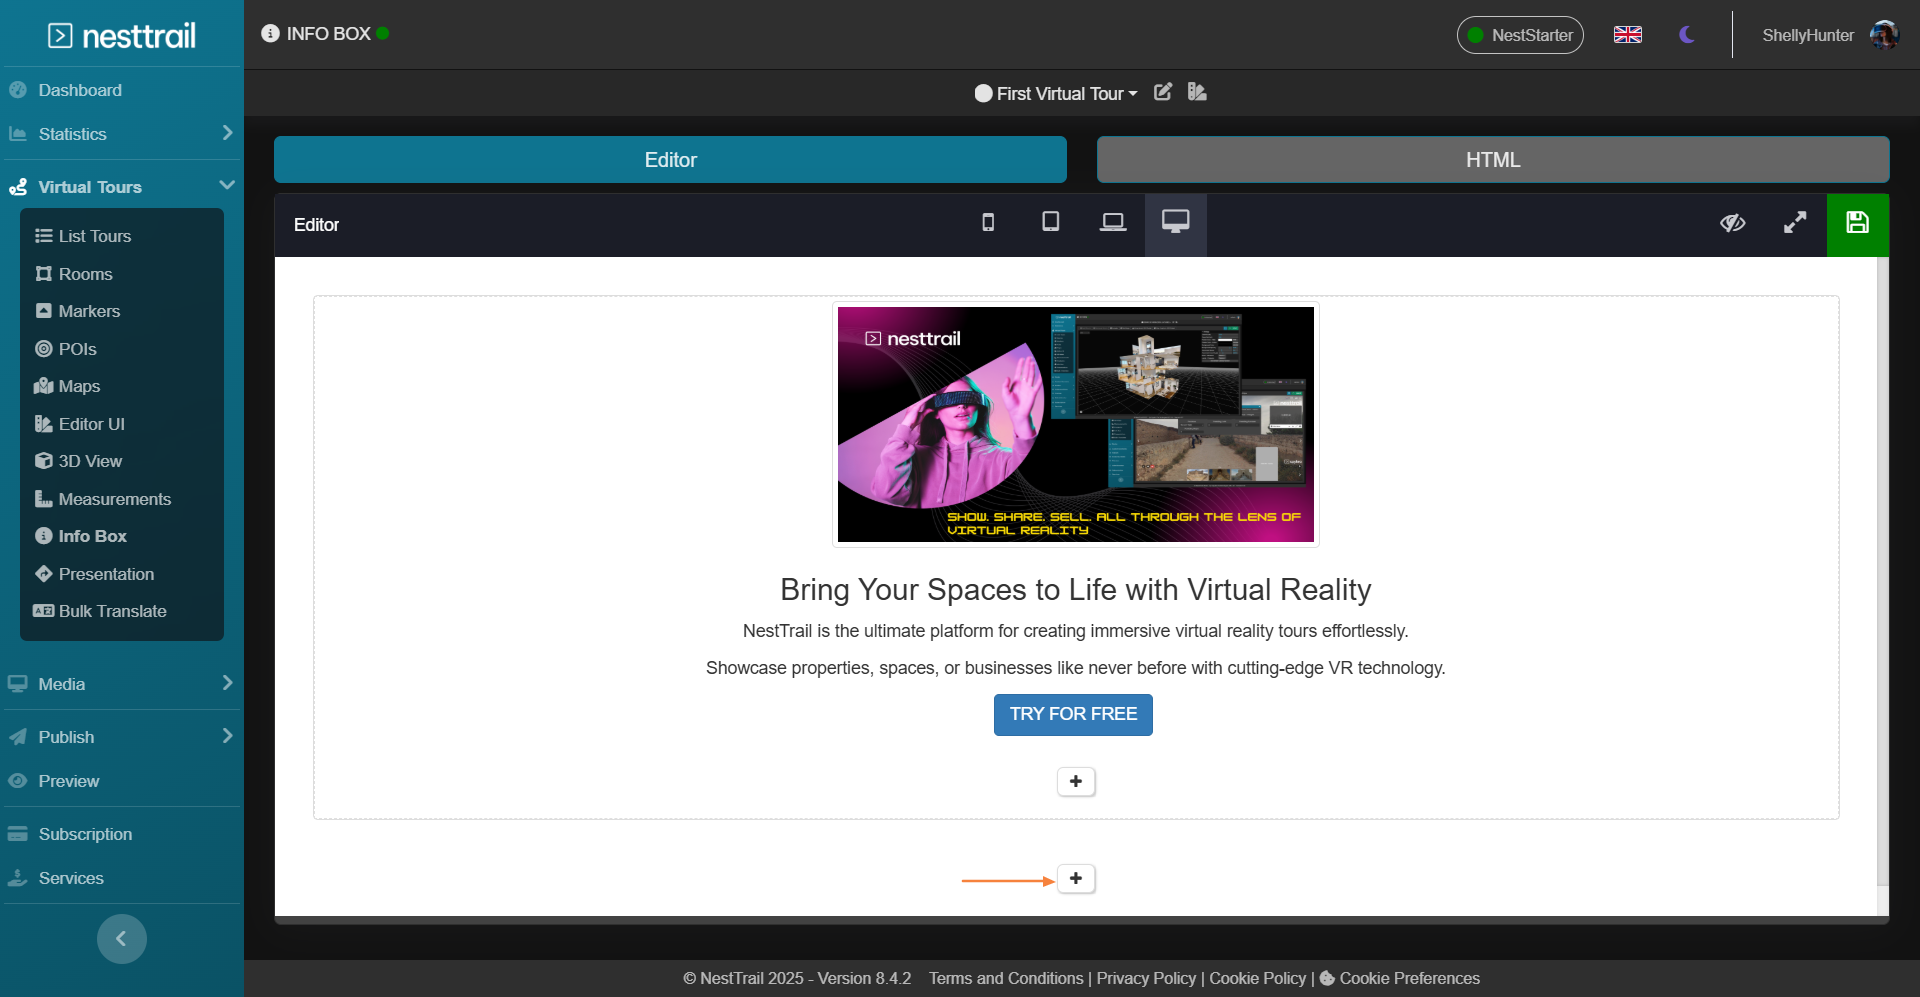
To start creating an Information Box, navigate to Virtual Tours -> Info Box from the side menu. Here, you will be presented with two modes to build your information box:
Editor Mode (Visual Web Editor)
HTML Mode (Code-Based Editor)
Using the Editor Mode
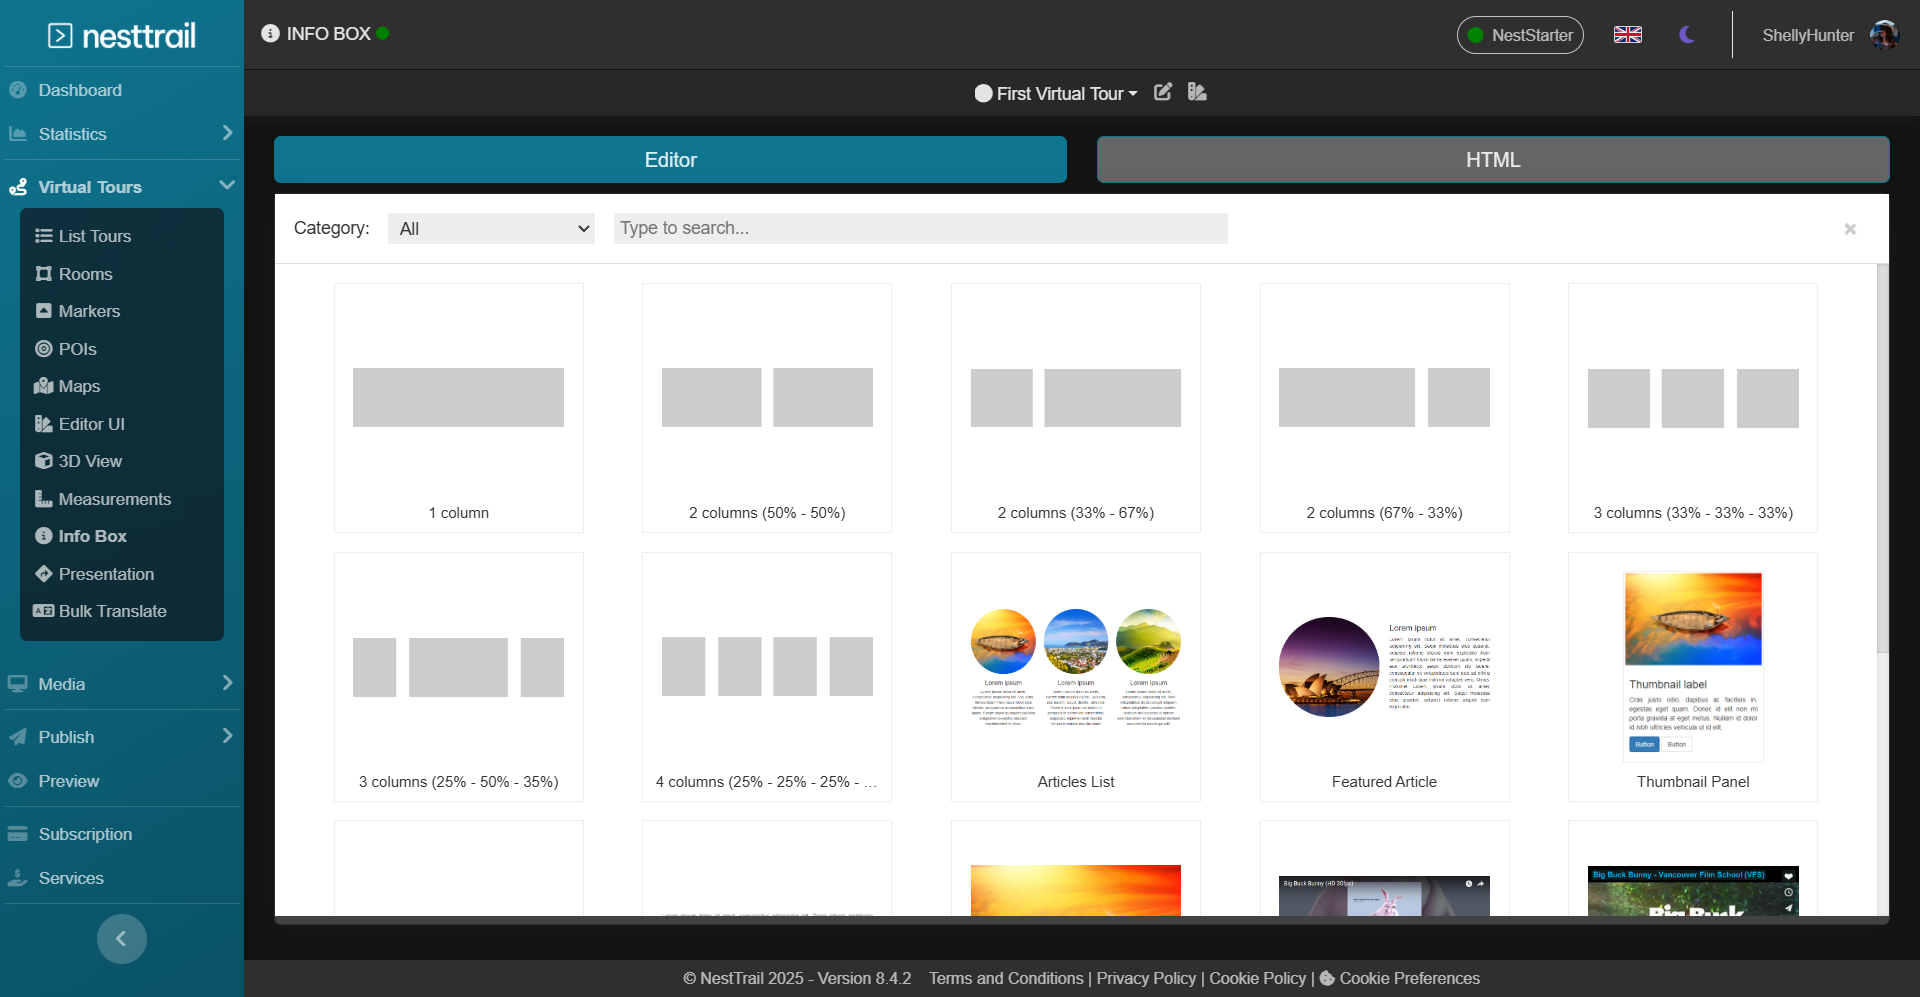
The Editor Mode is perfect for users who prefer a visual, no-code approach to designing their Information Box. To begin, click the "+" button to add elements to your information box. A list of available elements will be displayed, allowing you to select the components that best fit your needs.
The top toolbar in the Editor Mode provides various options to preview your page on different devices, from mobile to desktop, ensuring that your design is fully responsive. Additional options available in the top-right corner include Preview, Fullscreen, and Save, allowing you to review and save your work at any time.

On the left side of each container within the page, you will find key functionalities to manage your layout effectively:
Drag: Easily reposition the container within the layout.
Move Up/Down: Adjust the position of the container relative to others.
Container Settings: Access specific configuration options for the selected container.
Cut/Copy/Paste: Remove, duplicate, and reposition containers efficiently.
Delete: Remove unwanted containers from the page layout.
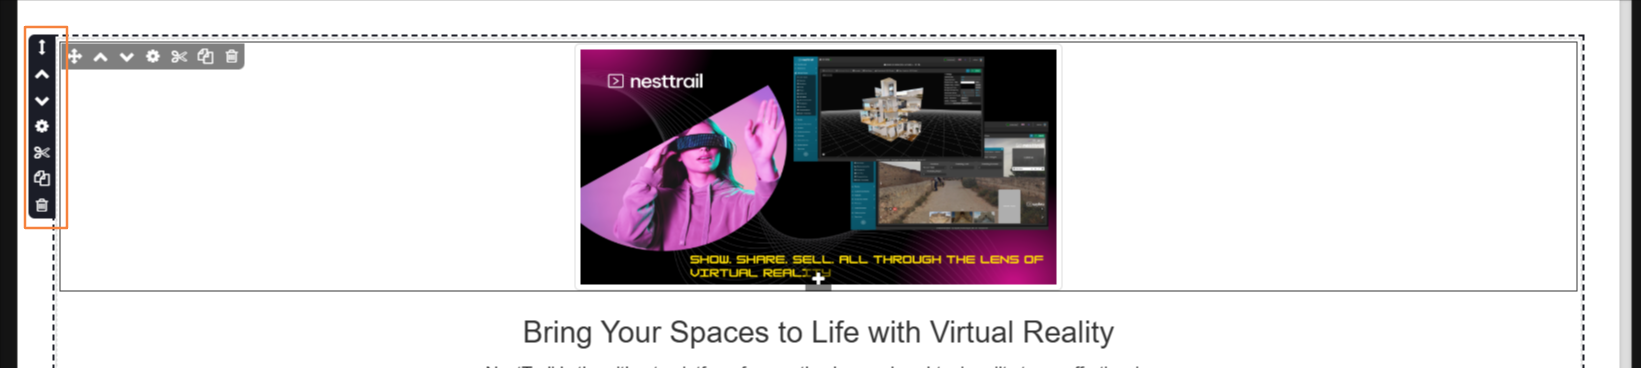
These controls provide an intuitive way to manage the placement and organization of elements in your Information Box. Once you have completed your design, remember to click the Save button (floppy disk icon) at the top-right corner to ensure your progress is stored.
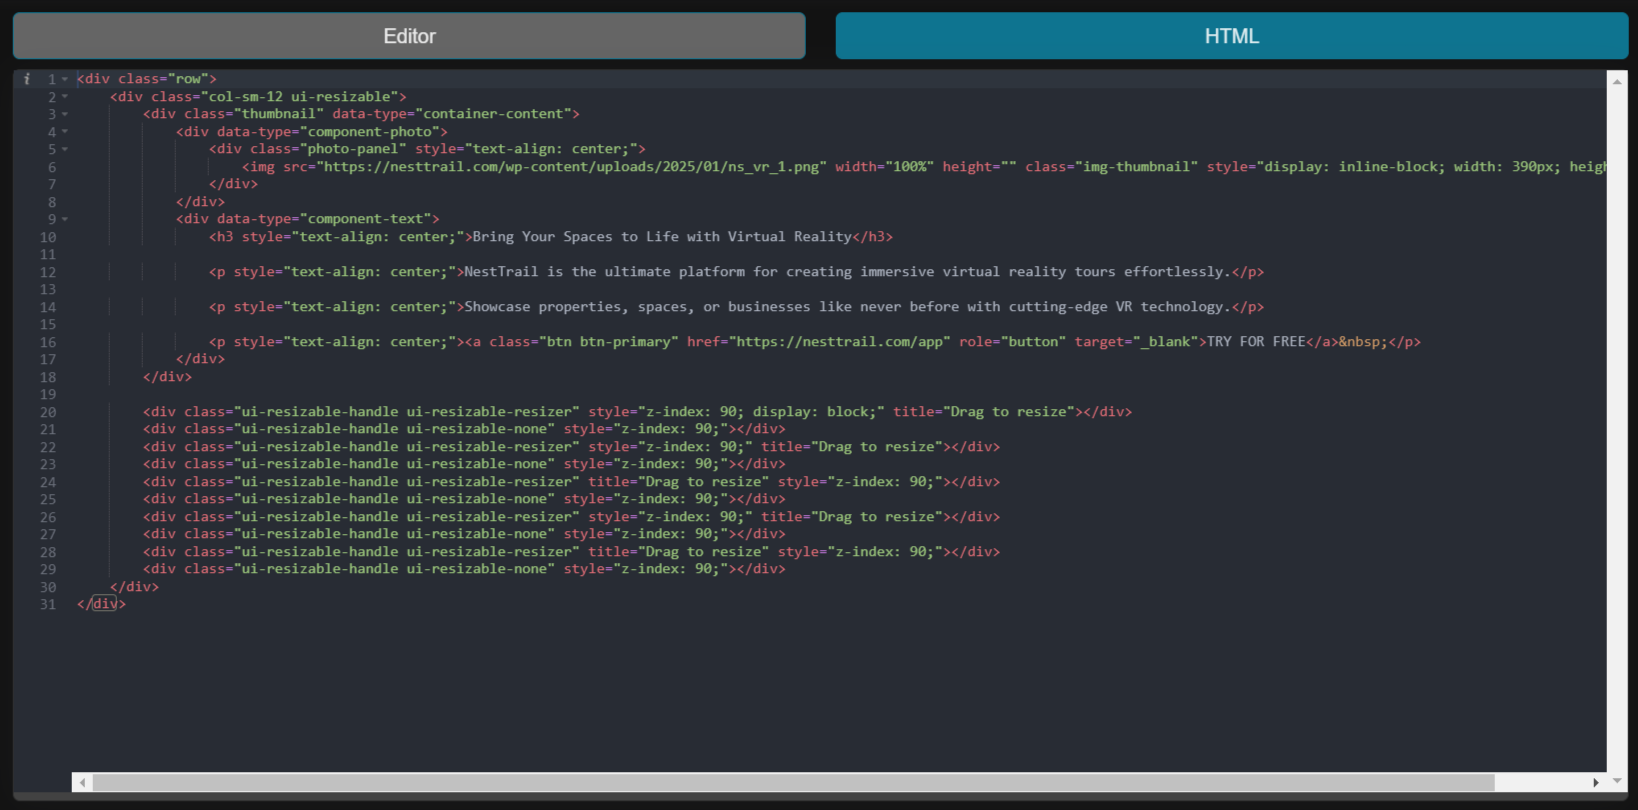
Using the HTML Mode
For users who have knowledge of HTML and JavaScript, the HTML Mode provides a code-based alternative to designing an Information Box. This mode offers complete control over the layout and functionality of the information box, allowing you to implement custom styles, scripts, and interactive elements.
Switching between Editor Mode and HTML Mode is seamless, enabling experienced developers to fine-tune elements manually while still benefiting from the drag-and-drop interface when needed.
Customizing Information Box Display
Once your Information Box is created, you can configure how it is displayed within your virtual tour by accessing the Editor UI settings. To do this, navigate to Virtual Tours -> Editor UI from the side menu.
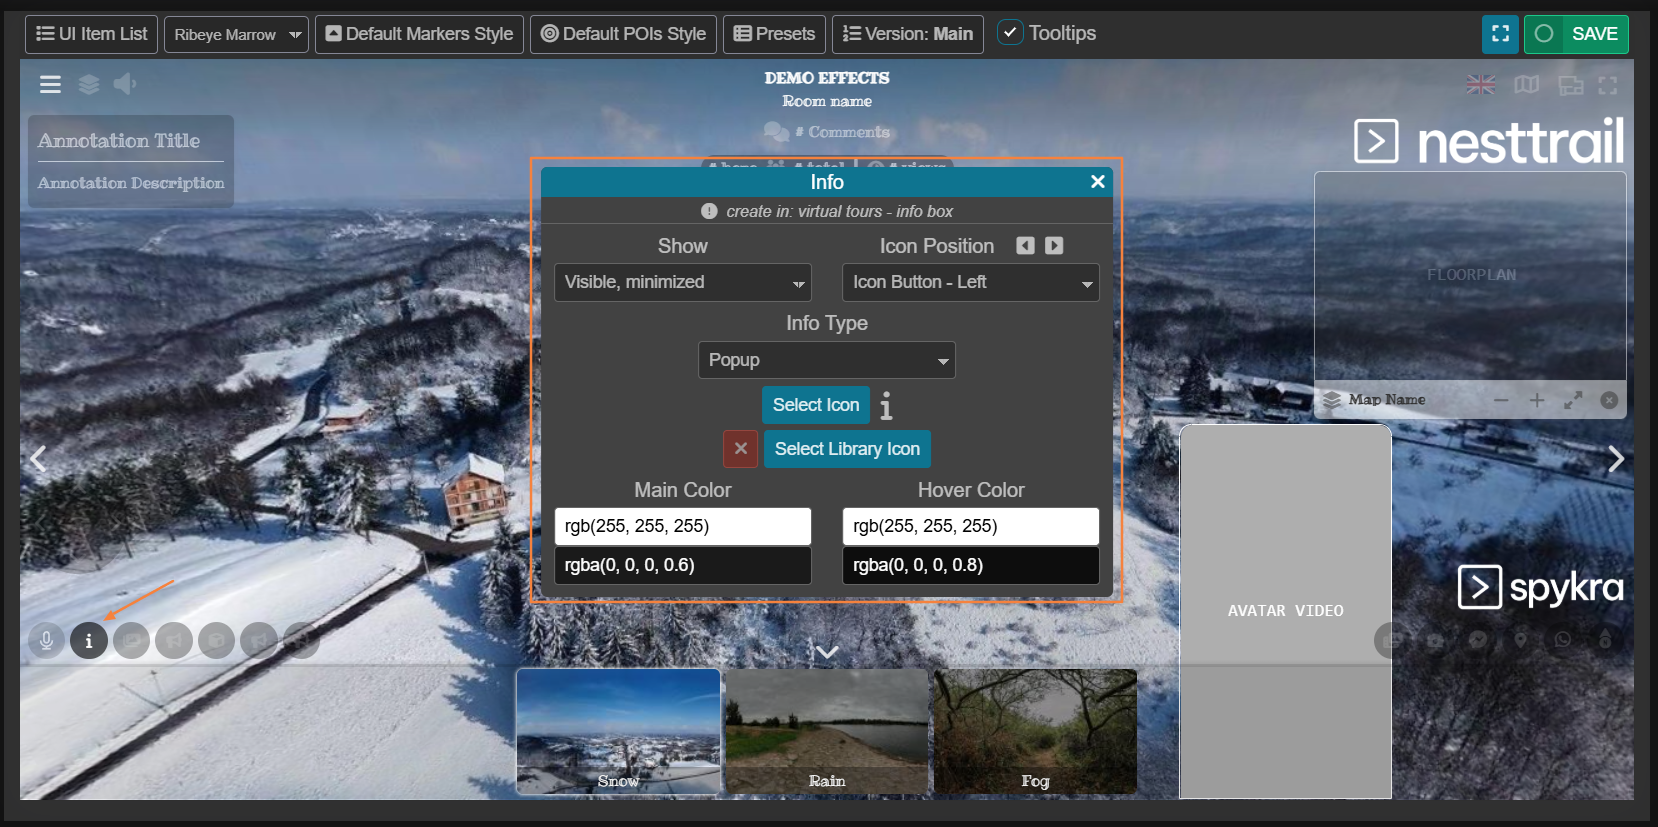
Click the Info icon located at the bottom left corner of the interface. Here, you can choose the style and type of display for your Information Box, with the following options available:
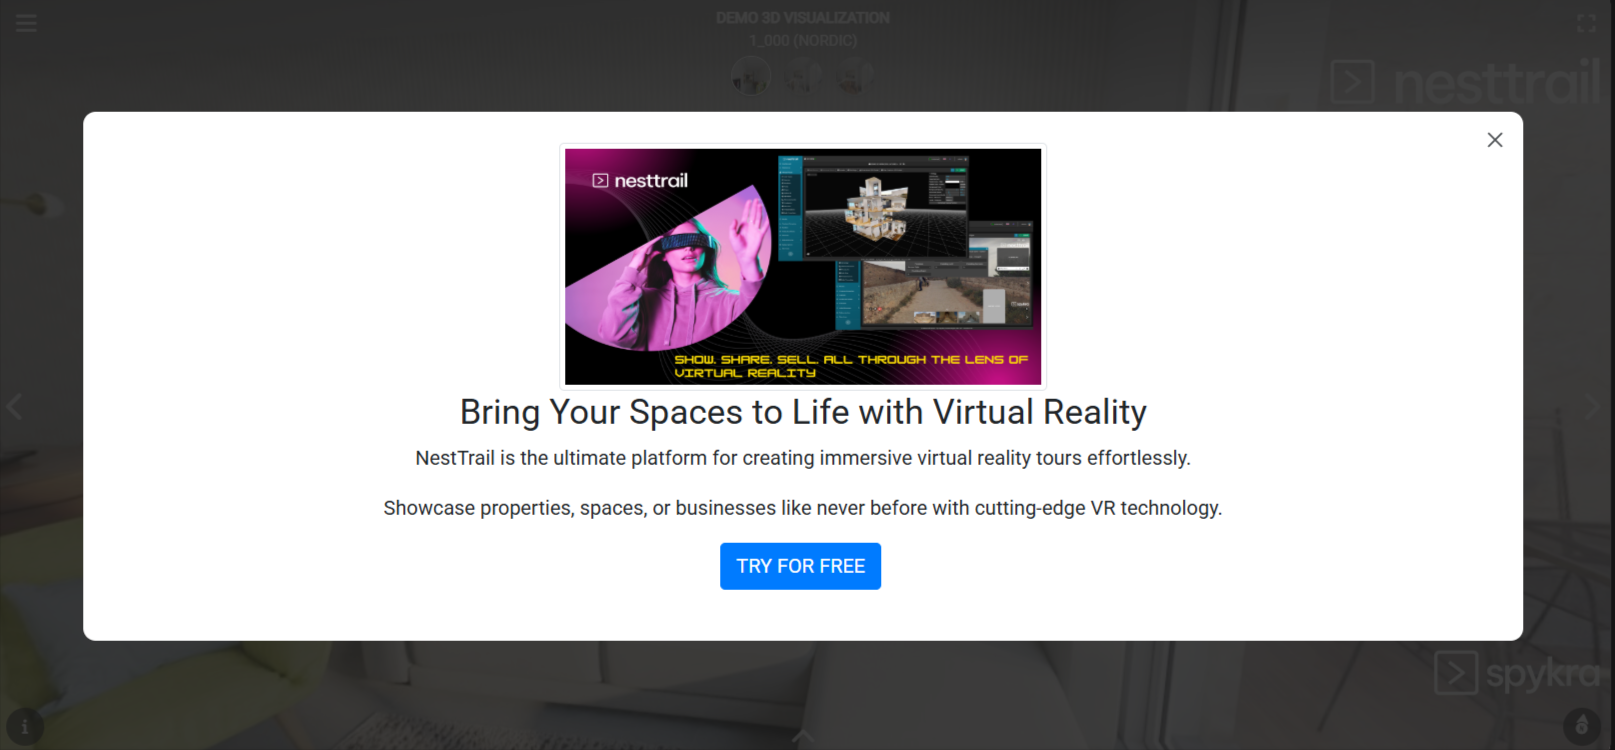
Popup Mode: The Information Box will appear as a floating popup over the tour, offering an interactive way to display information without taking up screen space.
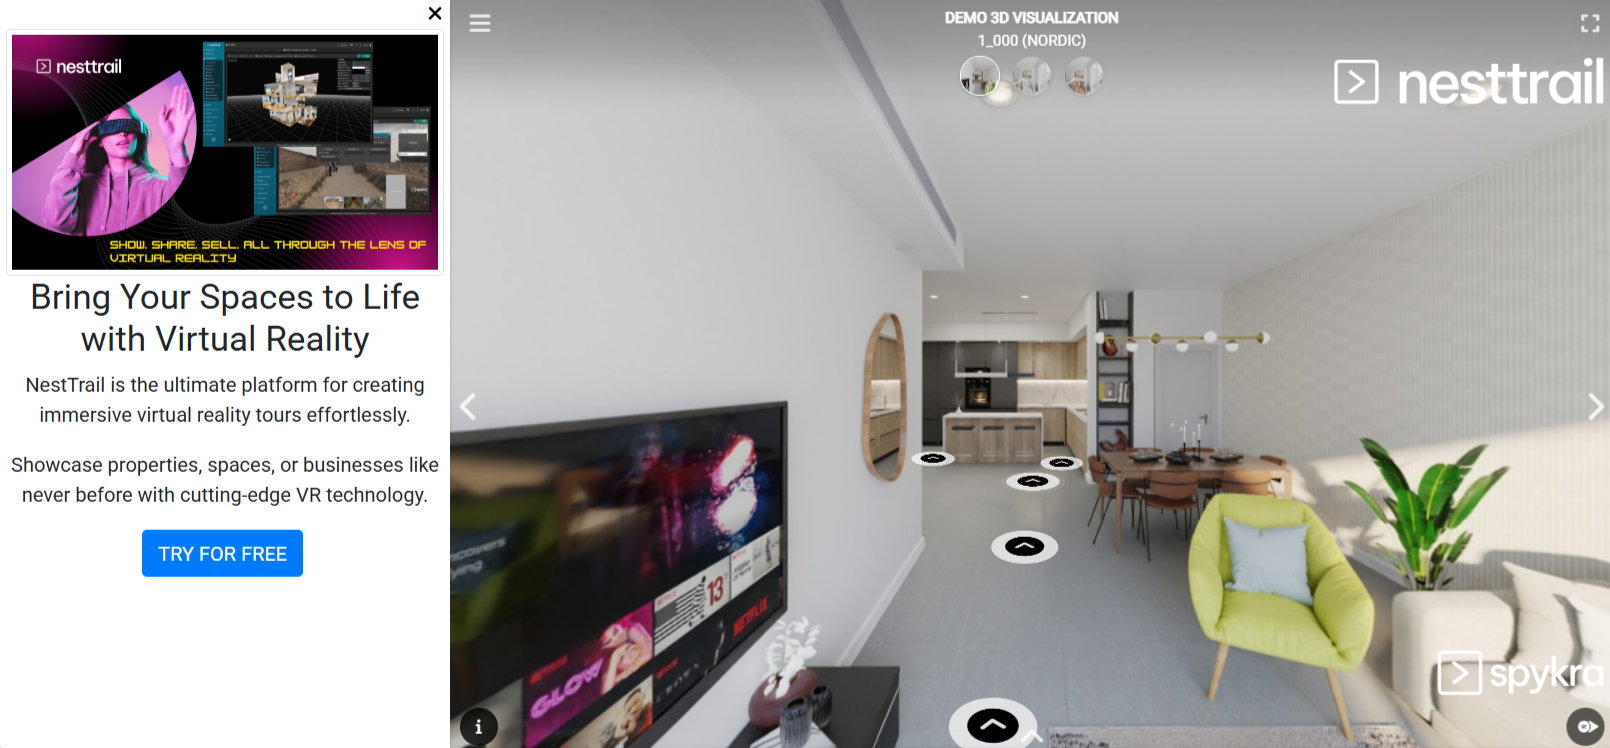
Panel Mode: The Information Box will be displayed as a fixed panel, ensuring continuous visibility while users navigate the tour.
Selecting the appropriate display style ensures that the Information Box complements the overall user experience of the virtual tour.
Conclusion
With NestTrail's Information Box builder, you can effortlessly create interactive and informative content for your virtual tours. Whether using the drag-and-drop Editor Mode or the more advanced HTML Mode, NestTrail provides the tools needed to customize and enhance your tours with rich content. Be sure to experiment with different layouts and display options to create the perfect information box for your audience.