Customizing the loading settings of your virtual tour in NestTrail allows you to enhance the user experience by creating a visually appealing and informative loading screen. Whether you want to add branding elements, customize the animation effects, or change the background visuals, NestTrail offers a variety of options to personalize the loading phase of your tour. This guide covers every detail to help you configure the loading settings effectively.
Accessing the Loading Settings
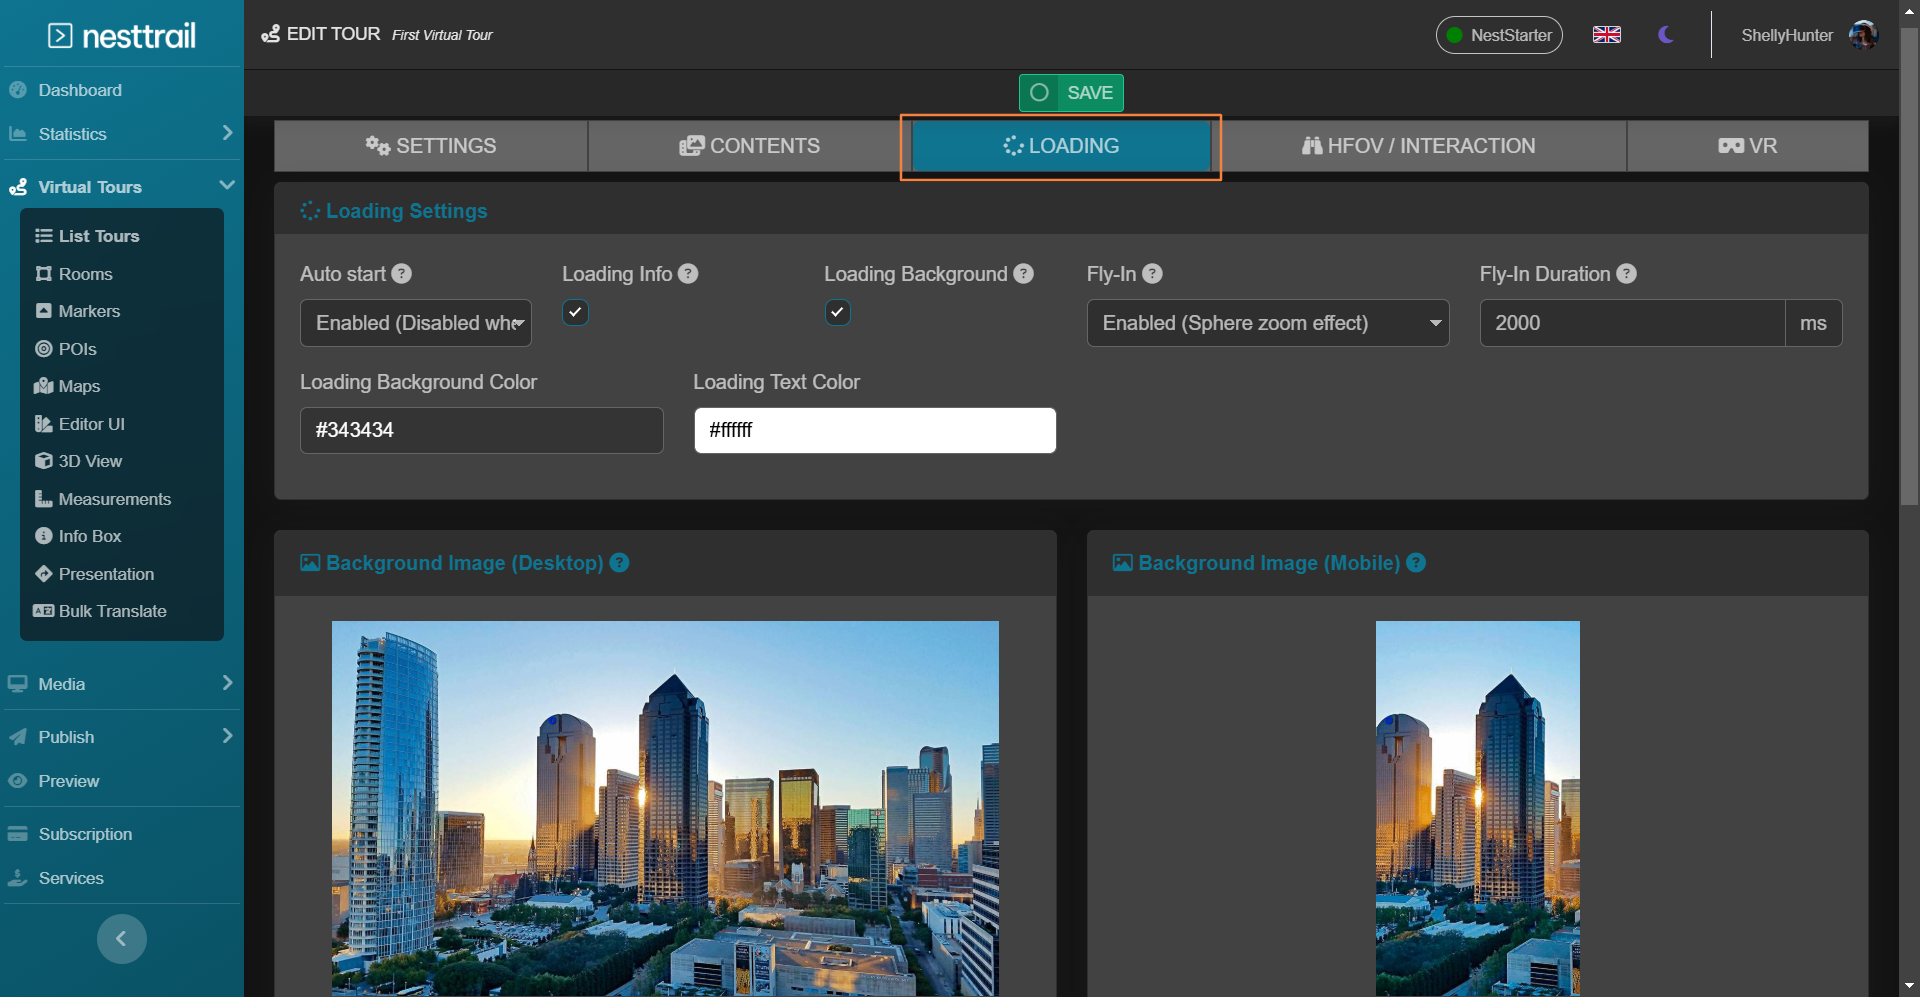
To begin customizing the loading settings, navigate to the Virtual Tours section in the side menu and select List Tours. Locate the tour you want to edit and click the Edit button next to it. Once inside the tour editor, go to the Loading tab. This section provides all the necessary settings to modify the appearance and behavior of the tour's loading screen.

Customizable Loading Settings
NestTrail provides several loading customization options to create a seamless and engaging first impression for your users. Here are the key settings you can adjust:
Auto Start
The Auto Start option determines whether the tour should begin automatically when accessed or if a play button should be displayed. When enabled, the tour starts immediately without user intervention, providing a smooth and uninterrupted experience. If disabled, a play button will appear on the loading screen, allowing users to start the tour manually.
Loading Info
The Loading Info feature provides users with useful information while the tour is loading. You can enable this setting to display the tour name and a loading percentage, helping users understand the progress of the loading process. This small but essential detail can improve user patience and engagement by keeping them informed.
Fly-In Animation
NestTrail offers an optional Fly-In Animation effect that enhances the visual appeal of your tour's loading sequence. This feature starts with an overhead view and gradually transitions into the first room, providing an elegant and engaging introduction to the tour. It helps set the scene and create a cinematic effect that impresses users right from the start.
Fly-In Duration
With the Fly-In Duration setting, you can control the speed of the Fly-In Animation effect. Whether you prefer a slow, dramatic entry or a quick transition, adjusting this value allows you to tailor the experience to match the desired impact of your virtual tour. Setting the right duration ensures users have enough time to absorb the introductory visuals without feeling rushed.
Colors Customization
To maintain consistent branding and aesthetics, you can customize the background and text colors of the loading screen. Choose colors that align with your brand identity or the theme of your virtual tour. This customization provides an opportunity to create a visually cohesive experience that resonates with your audience.
Background Media (Image/Video)
NestTrail allows you to set an image or video as the background during the initial loading phase. This feature provides an opportunity to showcase promotional content, branding visuals, or captivating imagery that sets the tone for the virtual experience. You can configure different backgrounds for desktop and mobile platforms to ensure optimal display across devices. Additionally, the selected background will also serve as the preview image when the tour is shared on social media or embedded on other platforms.
Applying Your Changes
Once you have adjusted the loading settings according to your preferences, it is crucial to save the changes. Click the Save button at the top of the page to ensure all your customizations are applied to the virtual tour. After saving, preview your tour to verify that the new loading settings are functioning as expected.
Best Practices for Loading Screen Optimization
To create the best possible user experience, consider the following best practices when customizing your loading settings:
Optimize Background Media: Ensure images and videos used for backgrounds are optimized for web use to reduce loading times.
Choose Engaging Animations: Use the Fly-In effect to create a captivating introduction but avoid overly long durations that might delay access.
Maintain Brand Consistency: Use colors and media that align with your brand to create a professional and recognizable tour experience.
Test Across Devices: Always preview the tour on both desktop and mobile to ensure a consistent experience across platforms.
By leveraging NestTrail's comprehensive loading settings, you can create a compelling and user-friendly virtual tour that captures attention and sets the right tone from the moment users enter. With careful customization, your loading screen can become an integral part of the overall tour experience.